
READY TO START? YOU WILL NEED TO HAVE A WORKING KNOWLEDGE OF PSP.
THANK YOU TO THE TALENTED CREATORS OF MY SUPPLIES
SUPPLIES NEEDED:
Tube of Choice: I'm using the amazing art of Keith Garvey.
You may purchase a license to use his work here
Scrapkit of Choice: Simply Purple by CrazyGirl
You can get taggers size at Digital Chaos or Magical Scraps
Font of Choice: Hobo
EyeCandy 3.1 Glass
Written in PSPX1
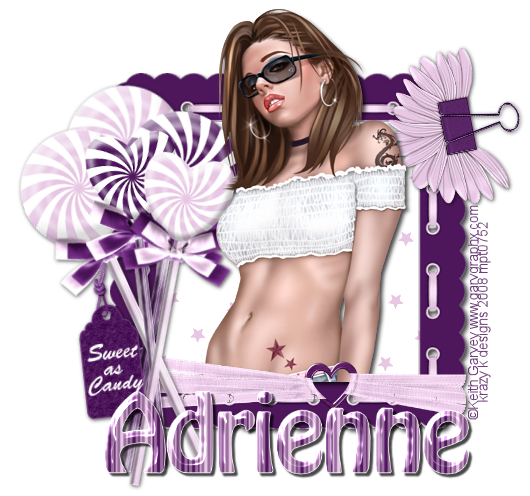
Open a new 600x600px canvas and flood fill white.
Open your frame and paste as a new layer.
Then open a pp and paste behind frame.
Resize to fit and erase excess pp.
Open lollipops and arrange in a cluster.
These will go above your frame.
Merge your lollipop layers.
Open one of the tag elements and place above lollipops.
Erase the excess string.
Now place your folded flower and ribbon elements on your frame.
Add text to your lollipop tag. I used 'Sweet as Candy'.
Place your tube of choice above the frame and flower layer,
but below the ribbon. You will now duplicate the tube layer.
Place this one above all layers.
Erase the bottom half of the tube so that your ribbon isn't covered.
Now you can add drop shadows to all your elements and tube.
Open a pp from your kit and resize to 15%.
Now get your text tool and select your backswatch color
as the pp. Now type out your name.
This is where we'll use Eye Candy.
And as usual, I used the following settings....
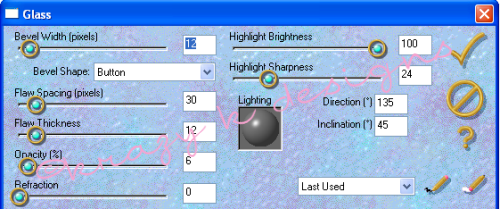
Add your drop shadow to your name.
DON'T FORGET TO ADD YOUR COPYRIGHT INFO!!!!
Crop off the excess canvas and save as a .png
(with or without the white background)


No comments:
Post a Comment
Note: Only a member of this blog may post a comment.