






YOU WILL NEED A WORKING KNOWLEDGE OF PSP.
SUPPLIES NEEDED:
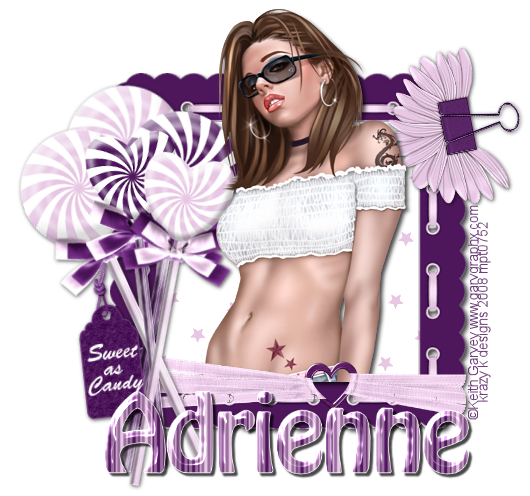
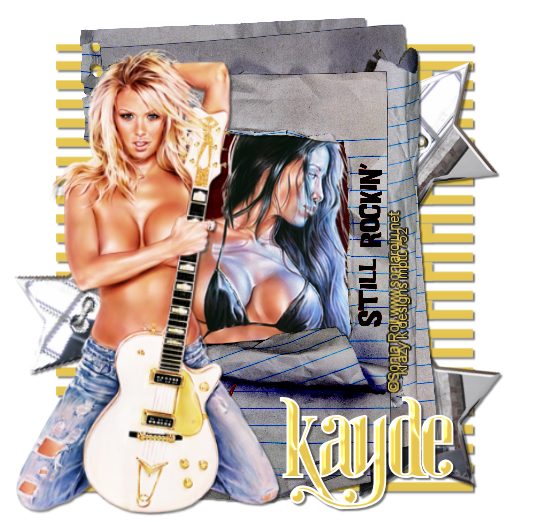
I'm using the wonderful art of Sonia Roji.
You may purchase a license to use the art here.
Scrap kit of choice: I'm using the Hard Rock Momma Sampler by Designs by Helly.
Font of choice: I'm using 'ginebra bolds'.
Mask: Wescotlass Tutorials WSL_Mask183
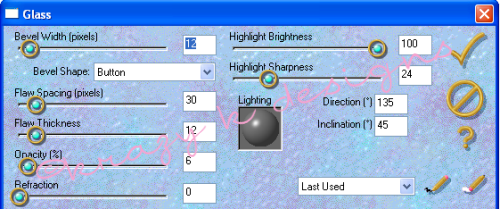
Eye Candy 3.1 Glass
Made in PSPX1
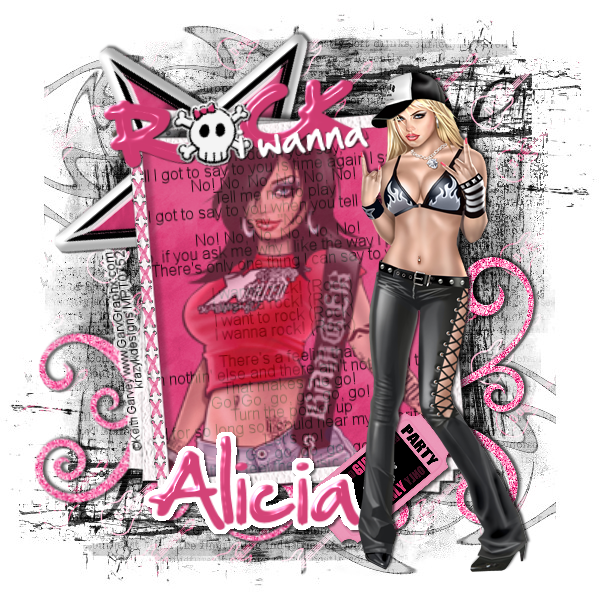
Open a new 600x600px canvas and flood fill white.
Pick out a color from your tube and fill a NEW layer.
Open your mask on this new layer.
Layers->Load Mask WSL_Mask183.
Merge Group.
Now open your paper element and paste as new layer.
Open your first tube and place it behind the paper layer.
Erase everything outside the frame.
(anything that might show behind the paper)
Open your elements and place where you wish.
Now open your main tube and place as a new layer.
Add drop shadows to your layers.
Add your name.
We'll use Eye Candy here and as always I'll use these settings.

Add a drop shadow to your name
And don't forget your copyright info!!!
Crop off the excess and save as png format.
(with or without white background)




Written in PSPX1



READY TO START? YOU WILL NEED TO HAVE A WORKING KNOWLEDGE OF PSP.
THANK YOU TO THE TALENTED CREATORS OF MY SUPPLIES
SUPPLIES NEEDED:
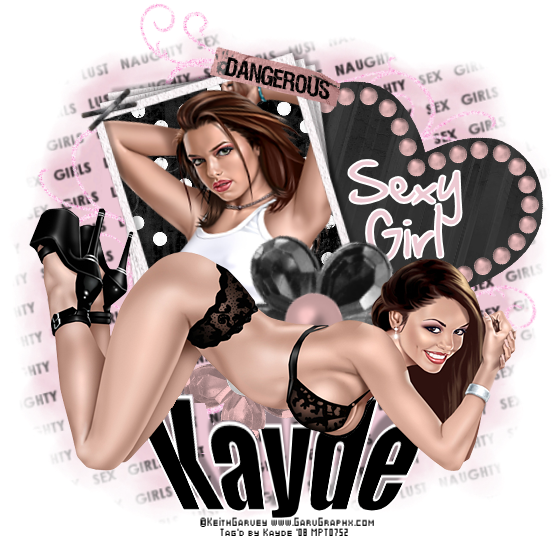
Tube of Choice: I'm using the amazing art of Keith Garvey.
You may purchase a license to use his work here
Scrap kit of Choice: I'm using a wonderful kit made by Designs by Helly (Someday).
Mask: Wescotlass Tutorials (WSL_Mask147)
Font of Choice: I'm using Copper Blk Std
EyeCandy 3.1 Glass
Written in PSPX1
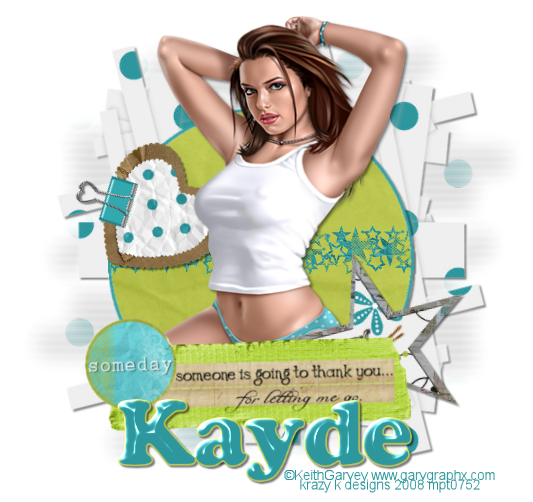
Open a 600x600px canvas and flood fill white.
Open one of your pattern papers and paste on your canvas.
Add your mask.
LAYERS->LOAD Mask WSL_Mask147.
Merge Group.
Add a light drop shadow.
Now get your preset shape tool and draw a small circle.
Place the circle in the center of the mask.
Convert to raster layer.
Open your tube and place on your canvas
above the circle layer.
Get your magic wand tool and select the inside of the circle.
Selection->Invert.
Select your tube layer and grab your eraser tool.
Erase the bottom half of your tube.
Now open your elements.
Place your 'Someday' element above your tube
at the bottom of the canvas.
Place your other elements where you wish.
Add drop shadows to those.
Add your name.
This is where we will use eye candy.
As always I'm using the following settings.

Add a drop shadow to your name.
Don't forget to add your copyright info!!!!
Crop off the excess and save as png document
(with or without white background)


Get my supplies here
Made in PSPX1
Now add your first tube. These two layers should go behind your frame.
Set the opacity of your tube to about 50% as well.
Grab your selection tool and repeat the steps of erasing the excess from around the frame.
Now add your elements whereever you like.
Add your main tube.
Now add drop shadows to your elements and tube.
I don't recommend adding drop shadows to your tube or text inside of the frame, but that is your call.
Now we'll add your name.
Use your eye candy plug-in here. i used the following settings.

Don't forget to add your copyright!!!
Now crop off the excess canvas and save as a PNG (with or without white background).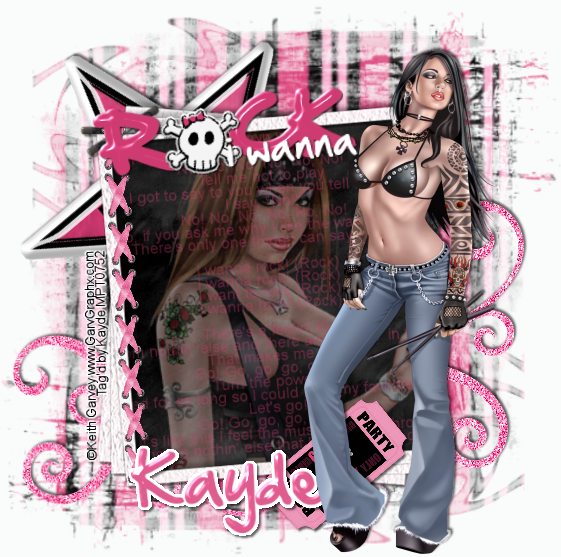

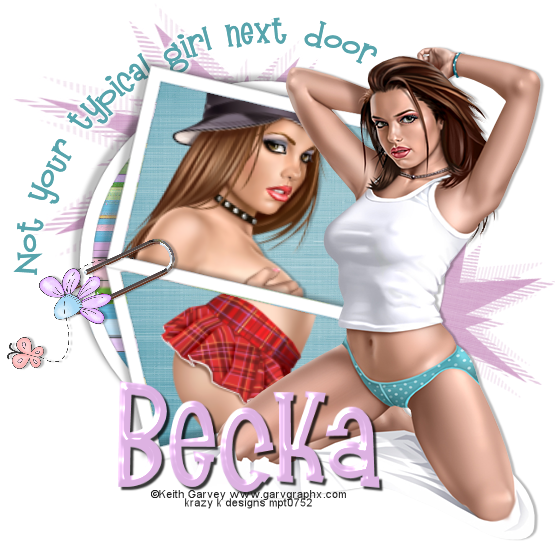
MADE USING PSPX1
Open a new 600x600px canvas and flood fill white.
Open your frame and paste as new layer.
Now open your first paper and paste as new layer under frame.
Grab your selection tool and select the visible rounded sections of the frame.
Selections->Invert->Delete.
Open your second paper and repeat those steps for the square frames.
Now open your first tube.
This one will go inside the frames.
Once you have placed your tube where you like, get your selection tool
and select the inside of the square frame.
Selections->Invert->Delete.
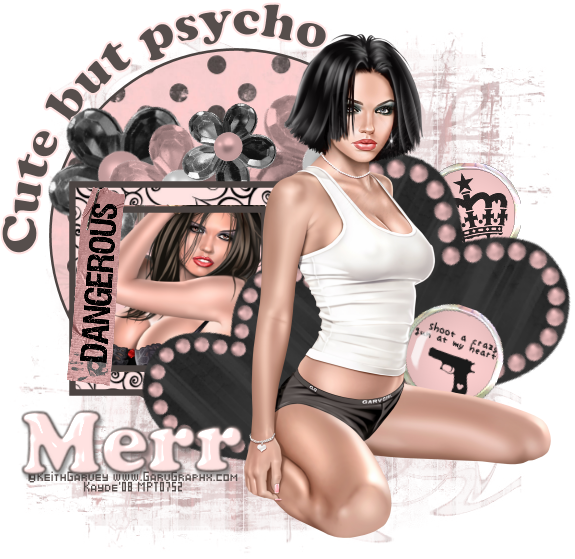
Grab your shape tool and draw a circle behind the frame.
Make it a little larger than your circle frame.
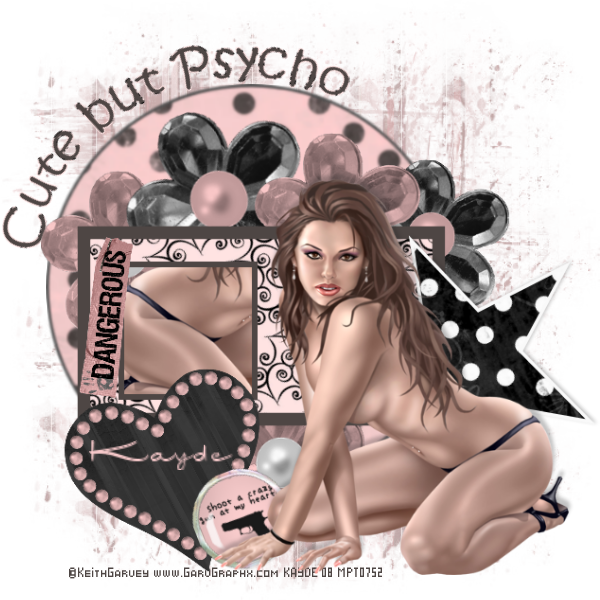
Now get your text tool and create your text on a curve.
Duplicate your text.
On the bottom layer we will add the glow.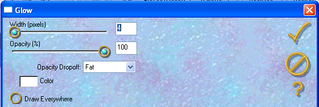
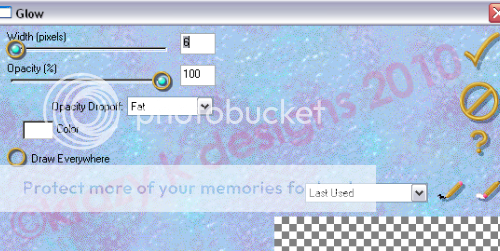
We'll use the following settings 4, 100, fat, white
You can delete your circle vector layer now.
Create a new layer under everything except your white layer.
Pick out a color with your eyedropper and flood fill your new layer.
Now we'll add our mask.
Layer->Load/Save Mask->Load mask from disk.
Merge Group
Place this layer in the top corner where you text is.
Now duplicate the mask layer.
Place it in the corner diagonal from the text.
Open an element such as a staple or paper clip from your kit
Paste as a new layer.
Place it somewhere so the two frames will be connected.
It's finally time for your main tube!!
Place it on the opposite side of your text.
On to your name.
And we will add eye candy glass to this layer.
As always, I used the following settings
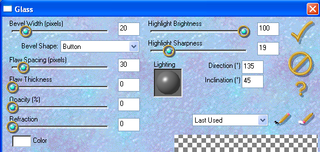
20, button, 30, 0, 0, 0, white, 100, 19
Add a drop shadow to your name and tubes.
Don't forget your copyright!!!
Now crop off the excess canvas and save as a png
With or without the white background.
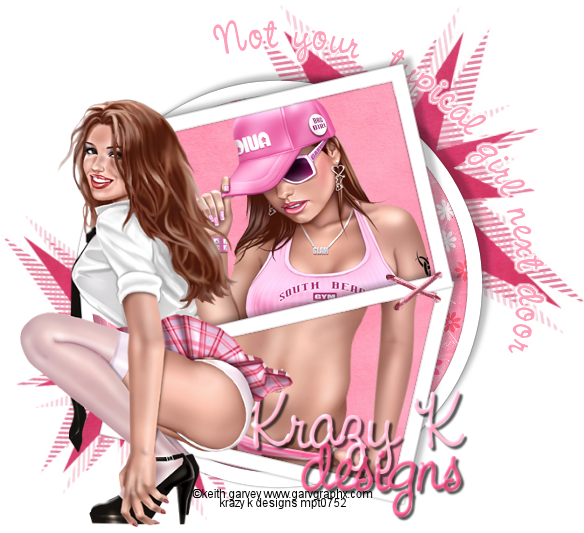


Written in PSPX1
Open a new 500x500px canvas and flood fill white.
Begin by selecting your frame. This is the main part of this tag.
I'm using frame 5 in the Gaia kit.
Now we will add the swirl elements (doodle 6).
Place them below the frame layer and lower the opacity to around 27%
Repeat this step with the sparkles (sparkle1).
You can now add your butterflies where you choose.
Just remember that LESS IS MORE!!
When adding the background to your frame, place behind frame layer and erase excess.
Now add the tube of your choice.
Add drop shadows and crop off excess blank canvas.
BUT DON'T FORGET TO ADD YOUR COPYRIGHT INFO!!!
i hope you enjoyed this tutorial.




READY TO START?
YOU WILL NEED TO HAVE A WORKING KNOWLEDGE OF PSP.
THANK YOU TO THE TALENTED CREATORS OF MY SUPPLIES
SUPPLIES NEEDED:
Tube of Choice: I'm using the amazing art of Keith Garvey.
You may purchase a license to use his work here.
Kit of Choice: Grunge Kit by CrazyGirl
You can get taggers size at Digital Chaos or Magical Scraps and full size kit at UpYourArt
Mask: Wescotlass Tutorials (WSL154)
Font of Choice: I'm using Flux Architect and 2peas scrapbook
EyeCandy 3.1 Glass
WRITTEN IN PSPX1
Open a blank 600x600px canvas and flood fill white.
Open your first pattern paper.
I'm using CG_GrungeItPaper09.
Resize to 50% and paste on your canvas as a new layer.
Time to add the mask.
LAYERS->LOAD/SAVE MASK (WSL154)
Merge Group.
Now open your second pattern paper.
I'm using CG_GrungeItPaper05.
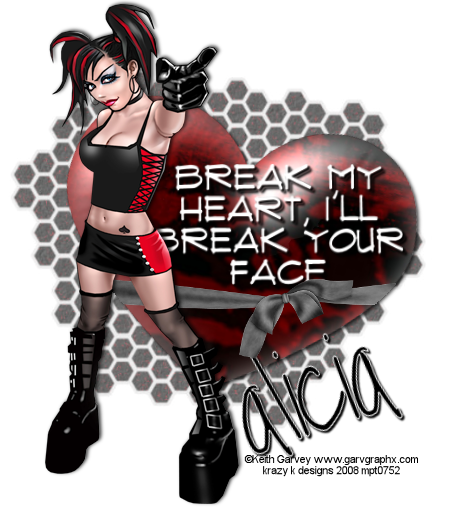
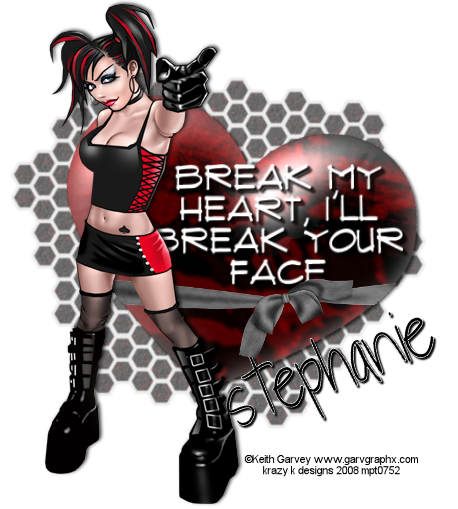
Grab your preset shape tool and select a heart.
Convert to raster layer.
Now we'll use our Eyecandy Glass.
Use the following settings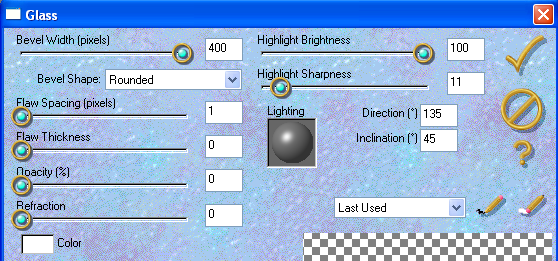
Get your ribbon and paste it over the heart layer.
Grab the magic wand and select the heart layer.
Click heart and invert.
Click ribbon layer and delete the extra ribbon.
Time to add text.
You may apply the eyecandy glass to your text if you like.
Now add your tube.
Drop Shadows to your liking.
Add your name AND COPYRIGHT INFORMATION!!!!!!!
Then delete excess canvas.
Save as PNG format with or without white background.
